Toilet Handle Points up, Hard to Push Down
The toilet handle is the only component that’s on the exterior of the toilet tank. Therefore, any defaults on the handle obviously means there’s an issue inside the toilet tank/ cistern that needs to be rectified.
If you’ve tried flushing the toilet by its handle and the handle up and would not push down easily, then the issue maybe in three areas, the lift chain, flush seal, or the flapper valve. All these components should work seamlessly so the lever handle is positioned just right for flushing.
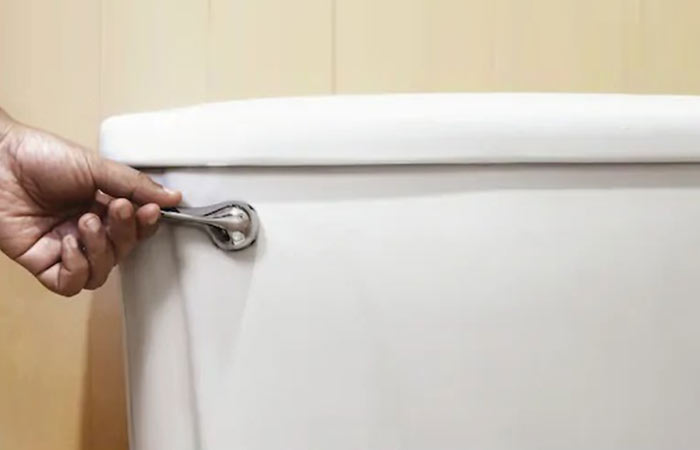
When the handle points up and presents resistance pushing downwards, it’s called having a stuck handle. If you are experiencing this common toilet problem, then here’s how to identify the causes and with steps to fix it. Plus, some great tips to prevent this again in the future.
Causes and how to Fix
If the handle points up the entire time, it probably means it’s stuck and unable to initiate the flush cycle.
The first step to fixing anything is understanding what the issue really is. Under normal circumstances, the handle should be in a perpendicular position awaiting you to flush it downwards. After which the lever/ arm inside the toilet tank opens up the flapper using the chain connected to it.
When the handle is facing up, it means any or all these components may have an issue that is hindering normal operations. If the chain is too tight it will over-exert the lever forcing the handle to go past the normal horizontal position. If the flapper is faulty by being probably stuck, then the chain gets snug and we’re back to the same issue.
Lastly, the flush seal may be poor meaning water keeps on continuously running and can’t stop. By then the float has already caused the handle to move back up but if the seal is bad then the handle remains pointing upwards.
To fix this problem, you have to go one bat one to each of these toilet parts and rectify every one of these issues. There’s where we begin.
Toilet Flapper Failures
The flapper is a tiny piece of plastic that sits over the entry pipe like a valve. Water drains from the toilet tank into the bowl through this valve, so when you initiate a flush, this valve is automatically opened to release the water. When the flapper has faults, say wrong installation, worn out, or even wrong size, it won’t do its work and only releases a little water.
In this case, the handle will be either loose or snug to indicate that the flapper isn’t raising enough. It will have a resistance that means you can’t even flush.
Your best solution is to replace the flapper. This is quite easy to do, only if you get the right replacement. A flapper that is either too big or too small won’t form a seal causing another problem where water keeps running. You wouldn’t want to know how huge a bill you’ll be paying for that. Besides, that is one of the biggest toilet issues to experience.
After buying a new replacement, adjust it into your toilet tank and move along to check the flush seal.
Flush Valve Slips
The flush seal and flush valve work hand in hand to ensure water gets into your toilet tank through the plumbing pipes. It’s regulated by a float which should close the valve once the water is enough. Too much water means the float is overstretched causing the handle to point upwards due to the tension inside the tank.
Unfortunately, if the seal is broken, so is the valve and vice versa. The best thing to do is to also replace the flush valve so the water only fills up to the exact level without leaking. Repair and replacement are not expensive and the process of replacement is simple. Here’s a guide on how to do it.
- Open the cover to the tank and locate the flush valve. It should be in the center of the tank. You should see plastic or brass fitting attached to the bottom opening on the tank.
- It sits between the flapper made of rubber or neoprene and the float ball.
- If you’re finding it difficult to do so, empty water from the tank for better visibility.
- Remove the old flush seal being careful not to disrupt the vertical overflow tube that extends up into the tank from the base of the flush valve.
- Add in the new seal and allow water to get into the tank, observe how it acts to affirm you bought the right seal for the job.
Chain Catastrophes
Saving the best for last, you should also check the chain as it’s the most prevalent cause of the issue. The chain is meant to connect the lever and flapper along with other toilet parts. If the chain is in motion, so is the flapper and the flush valve.
The chain has to be the right length as too much slack makes the handle loose and tightness causes the handle to point up, unable to flush downwards. Losing the chain to fit just right should release the extra pressure in the handle allowing it to revert to the normal state. It should measure half an inch otherwise it may be too slack meaning the handle will be loose.
The chain can also be warped after extended exposure to water. If this is the case, then you have to buy a replacement and install it to get a functional toilet. Here’s how you can replace the chain.
How to Replace the Flapper Chain
Supplies needed;
- Wire cutters
- New chain
- Measuring tool
Method
- Start by turning off the water at the shutoff valve. This is located at the base of the toilet or on the left side of the toilet tank. Check where the water supply comes into the washroom, the valve should be located there. If not, turn off the main shutoff valve.
- Flush away water from the toilet tank into the toilet bowl so the toilet parts like the flapper and float will depress inside the tank.
- Remove the chain connected to the flapper and the lever. Unhook it gently and throw it away.
- Take your replacement chain and measure against a tape, ensure it’s about half an inch.
- Using the wirecutter cut the chain.
- Add it into the tank by hooking onto a pinched link on the flush chain. Allow for some slack so the flapper can seat and seal properly over the flush valve.
- Check the slack again once you initiate the handle. When the handle is depressed, the flapper should lift into a nearly vertical position so you can see the bottom of the flapper. When you release the handle, the flapper should settle down into the flush valve, with just a small amount of slack in the chain.
Once you can see this right motion in the toilet tank then you’re all good to go. If you see touch slack, cut again using the wirecutter. Turn the water back again and try flushing to see if it’s all fixed.
Prevention Measures
Such toilet problems occur occasionally and it’s good to fix the issue by yourself so you know what to expect in the future. But because nobody wants to be fixing the toilet now and then, here are some tips to ensure you’re not stuck in the same situation again.
- Do not force the handle down once you feel the tension. Just open it up and check and rectify the issue.
- Repair any faulty toilet parts as soon as you notice they have become faulty.
- Replace old and worn-out toilet components to avoid overworking other parts.
- Don’t exert too much force when flushing as this may bend or break the chain connecting the lever and flapper.
- Regularly check the toilet components to keep them functioning all the time.
- Replace parts with high-quality parts so you’re not left doing repairs often.
Further Reading