How to Remove a Shower Drain Cover & Replace it
Removing your shower drain is necessary especially if it is worn out, clogged or not working properly. Removal is normally the initial step to repairing or replacing it. With the right tools and knowledge is a quick and easy process you can handle on your own.
To remove a shower drain cover, first, identify the type of cover that is installed in your bathroom. After identification, all you need is your protective gear, a screwdriver, a sharp object or just your hands to pop it off.
The following is a detailed guide on how to go about removing different types of drain covers including those with or without screws, those that are grouted in, what to do if the cover won’t come off, and replacement steps. Moreso, learn how to remove the shower drain itself plus tips and safety measures to observe.
Shower Drain Cover Removal-with/without Screws
Here is a list of the tools and materials you might need for the task;
- Screwdriver or a flat-head screwdriver
- Trash can
- Resealable bag
- Washcloth
- Utility knife
- Spray Lubricant
- A pair of gloves
- Hammer for grouted-in covers
- Needle nose pliers for use on a snap-on drain cover.
Depending on the type of shower drain cover you have, some of the items may be optional.
Step 1: Clear the Working Area
Put on your safety gear and remove any items or objects that may not only stop you from conveniently accessing the drain cover but also limit the working space for yourself and your tools.
Step 2: Lubricate
This is important, especially for old drain covers that have never been removed for some time. Lubricating is also helpful for plastic covers that cannot stand a lot of force.
A lubricant loosens the screws making them easier to unscrew. Apply a generous amount of lubricant along the rim of the cover then let it sit for at least 5 minutes. You can use a DIY solution like WD-40 or any other drain-safe and non-toxic lubricant of your choice. If you can easily unscrew or lift up the cover, you do not need to lubricate.
Step 3: Unscrew any Screws
If you have a screw-in shower drain cover, you need to use a Philips screwdriver to remove the visible screws, usually on the sides. Get this cheap screwdriver set below.
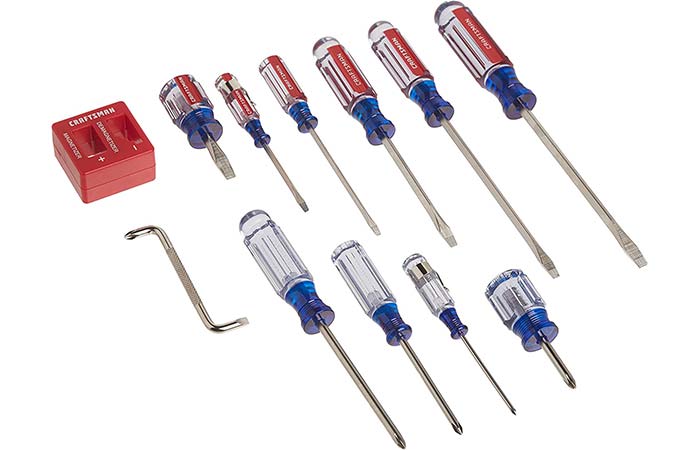
Once you’ve successfully removed the screws, place them in a resealable bag or tray so they don’t get lost or fall down the open drain.
Step 4: Grip and Pull Out
How you will grip and pull the cover out depends on the type of cover you have installed. For screw-in covers, place the tip of a flat-head screwdriver in one of the grates and use it to pop up and lift the drain cover.
To remove a shower drain cover without screws, also known as clip-style or snap-in drain covers, use a flat-head and put under the notch along the edge and gently pry it up.
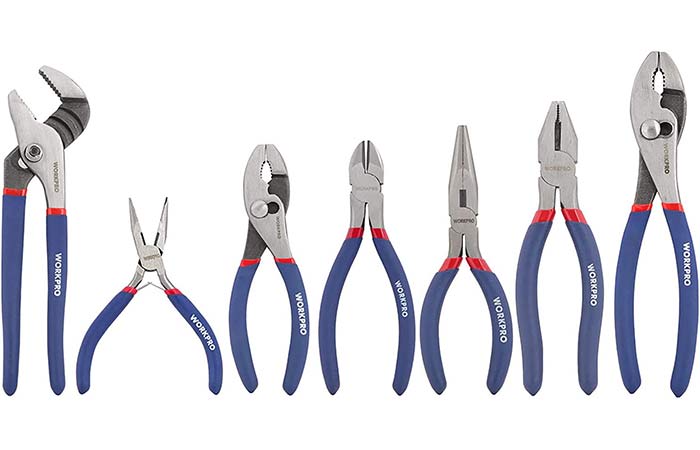
If it does lift up, use a pair of pliers (needle-nose type) or a coat hanger to grip and pull it out while still gently prying it up with the screwdriver. We recommend the affordable Workpro pliers set from Amazon for your DIY plumbing projects.
How to Remove Shower Drain Cover that is Grouted in
A grate cover on a flat shower floor surface can be installed with or without screws. You can easily do away with the thin fine plaster that makes up the grouting. Here are the steps.
- With the help a screwdriver, unscrew the screws which can be either on two sides at the edge or at the centre. Lubricate if necessary.
- Gently pat on the edge of the drain cover with a hammer to break the grout under the grate.
- Check to confirm if you have a rotating or pry-up type of opening.
- If it is an open rotation system, then take pliers and rotate the cover counterclockwise with it the grate comes off. For a pry-up, place a flathead screwdriver under the cover through the grate hole and pry it up
Removing Pop Up Shower Drain Cover
This type of cover does not require any tools to remove it. Pull it straight up; if it’s still stuck, try removing it while wiggling it. Other options have the rocker-arm style, in which you uncover the attached arm by flipping it straight up. Then pull horizontally to remove the drain cover.
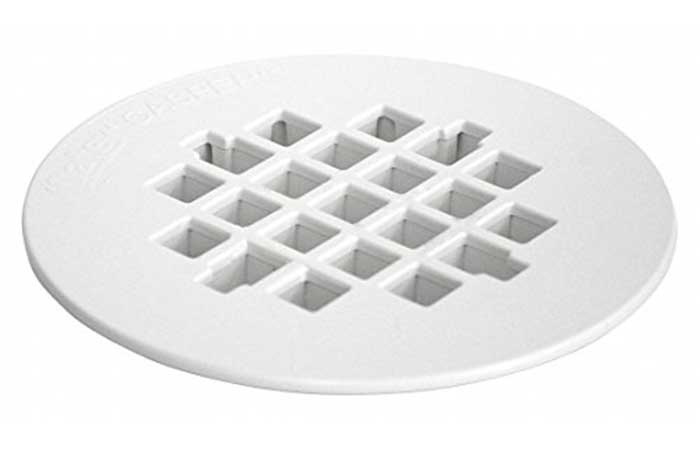
Flat Shower Drain Cover
For flat shower drain covers, all you need is a screwdriver and maybe a pair of pliers for gripping. You will place the flat screwdriver underneath the cover to remove it from the sealant.
After successfully removing the cover, be sure to cover up the drain so nothing gets in.
Shower Drain Cover Won’t Come Off
If your drain does not come off it is an indication you’ve either not unscrewed it, lubricated it or are not removing it out the right way.
For screw-in and snap-in types simply apply a lubricate and let sit for about 10 minutes then try to remove it using the steps outlined above.
For the push types simply push the plug down and give it a spin or a wiggle while you pull it out.
How to Replace a Shower Drain Cover
Assuming that your drain is intact and free from any form of blockage including hair, rust and grime, it is time to reinstall or replace the cover you’ve just removed. Follow these steps to quickly replace or install a new drain cover in your shower.
- Dry the drain area so that there isn’t any sitting water around.
- Take out your new drain cover and lay it down.
- Use your screwdriver tip to push it down into the hole to help with getting it centered.
- Lay the folded washcloth over the drain grate to cover the holes just in case a screw goes rogue.
- Use the screwdriver to insert each screw into the plate until it is secure. For the non-screw types simply snap it in as per the instructions.
- Use the washcloth to wipe up the area.
How to Remove a Shower Drain + Removal Tools
The process of removing a shower drain varies depending on the type that is installed, the type of flooring, whether you have a shower pan or not, etc. The steps below are for removing regular drains from the top.
Shower Drain Removal Tools
The tools and supplies you’ll need for this project include;
- Drain snake
- Lubricant
- Screwdriver
- Needle-nose pliers
Step 1: Inspect & Clear any Clogs
This the next task after removing the drain cover. Unclogging ensures that the drain does not snag and is free of probable damage. Use a flashlight to check and for any visible blockage. You turn on the water and test if the water is draining properly.
If there is a blockage, use a tool like the Pupulo electric drain snake to pull out the hair, grease or any other residue in the drain. In place of a snake drain, you can pour hot water down the drain with baking soda and vinegar
Further Reading: Drain Snake vs Toilet Auger
Step 2: Loosen by Adding a Lubricant
If your drain is old and rusty, it can be difficult to pull it out even after removing screws, if there are any. Lubrication helps in loosening the parts making it easier for them to come off.
Cover all the visible parts of the drain with the lubricant. You can also pour some down the drain to cover the parts you can’t see. Let the lubricant sit for about 10 minutes before moving on to the next step.
Step 3: Remove any Screws
Some shower drains are attached with or without screws. Check if the one you have is attached with, be careful while unscrewing them with the aid of a screwdriver, and set them safely aside.
Step 4: Loosen the Shower Drain
Carefully place one pair and another pair of the needle-nose pliers in the openings on opposite sides of the drain. Do this with caution to avoid damaging the drain, especially if you intend to reinstall it.
Once your pliers are in place, gently turn the drain counterclockwise to make it lose. Keep turning it until it’s completely unscrewed. In case of some resistance, avoid applying too much force that may damage the drain. Instead, spray on some more lubricant and wait 10 minutes before trying again.
Step 5: Pull Out the Shower Drain
The last step is to firmly but carefully lift the shower drain out of the hole, avoiding denting it or causing any damage to it. After getting it out, clean any dirt, debris, or clog, then check if it is in good condition or needs fixing.
If it is in a good condition properly dry out as you prepare to reinstall it following the upcoming steps. However, if it is damaged beyond repair buy a new one to replace it.
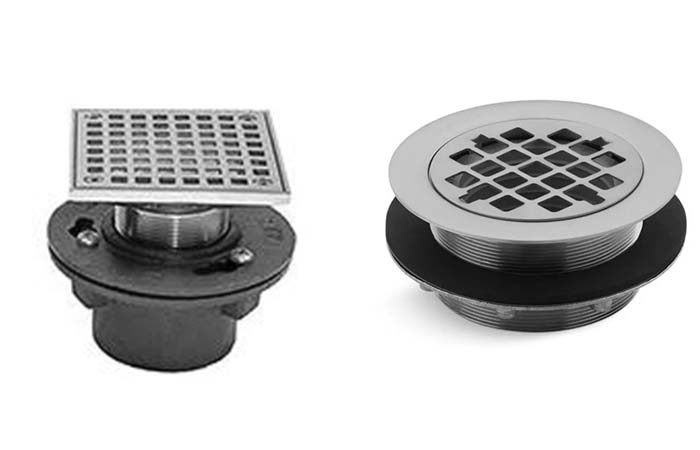
How to Install/Replace a Shower Drain from the Top
- Clean the pipe or shower pan to ensure a clean environment for new installation/replacement.
- Install the new tile floor assembly while patching up the membrane and mortar bed
- Check for leaks
- Patch the membrane by cutting a new piece of membrane to fit the area you destroyed.
- Make holes for the drain and the mounting holes of the drain body.
- Apply caulk along the chiseled area and apply the patch.
- Leave the caulk to dry and patch the mortar bed.
Safety Measures and Tips
Taking precautions is a high priority, as your safety should always come first. You should consider the following series of safety measures for a more productive outcome.
Do your research.
Always check all the pertinent local buildings and codes before starting any plumbing project. Also, be able to tell the difference between what you can handle and what requires a professional. Whenever a project requires a permit, get one.
Shut off the water.
When working with water, always have the water supply off to be safe, as your taps hold back a lot of pressurized water.
Wear safety gear.
- Wear appropriate safety work gear to protect yourself. Always protect your eyes, wear safety glasses during work. Also, beware of contaminants getting into your eyes, especially when working with something that could damage your eyesight.
- Protects your hands, and try not to leave skin exposed. While you work, you come in contact with many chemicals and different types of material that could harm or irritate your skin.
- Protect your lungs from any toxins in the air while working by using a disposable face mask.
Practice tool safety.
Always take precautions whenever you’re working with power tools; always follow the manufacture’s guide on use. Whenever you’re working with heat, always have a heat shield on.
Read labels.
Always have every tool and chemical in use labeled for easy identification; always read their tags to avoid confusion. Always follow the recommendation for use. Check for any warnings or precautions to be taken.
Never ignore the smell of gas.
Do not ignore the smell of gas leak, or if you happen to smell natural gas, stop at once, turn off the gas or call your gas company. Do not attempt to find or fix the gas leak yourself.
Always use a drain lubricant.
The components of a drain lubricant are different from grease or oils as they can clog your drain, instead of loosening out the threads of the drain.
With the above tips and safety precautions, we hope you can remove a shower drain cover safely and with ease.
More on Shower Drains